Process of Waterproofing
The cost & time effective way to stop leaks!
The Process of Waterproofing: Protecting Your Property from Water Damage
Waterproofing is a crucial step in protecting structures from water infiltration, which can lead to severe damage over time. Whether you're dealing with a basement, roof, or exterior walls, a proper waterproofing process helps safeguard the integrity of your property. Below is an overview of the typical waterproofing process, outlining the steps from preparation to completion.
1. Site Assessment and Inspection
Before starting any waterproofing project, a thorough site assessment is essential. A professional waterproofing contractor will inspect the area to identify the source of water ingress and assess the condition of the structure. This might involve:
- Identifying cracks and leaks in walls, foundations, or roofs.
- Examining the drainage system to ensure it’s functioning properly.
- Checking for signs of water damage, such as mold, mildew, or staining.
The inspection helps determine the most effective waterproofing method based on the specific problem areas and the type of structure.
2. Surface Preparation
Proper surface preparation is critical to ensure that the waterproofing material adheres effectively. This step involves:
- Cleaning the surface: Dirt, dust, grease, and old coatings must be removed from the surface to allow the waterproofing material to bond properly.
- Repairing cracks and holes: Any visible cracks, gaps, or holes are filled with a suitable patching compound. This prevents water from seeping through during the waterproofing process.
- Smoothing the surface: If necessary, the surface is smoothed out to ensure even application of the waterproofing membrane.
For areas like basements or foundations, additional steps may include excavating around the structure to access the walls or applying a primer to improve adhesion.
3. Application of Waterproofing Membrane or Coating
Once the surface is prepared, the waterproofing material can be applied. There are several types of waterproofing solutions available, and the choice depends on the area being treated, the level of water exposure, and the desired finish. The main types include:
Cementitious Waterproofing:
Cementitious waterproofing is often used for areas like basements and bathrooms. It involves applying a waterproof cement-based mixture that creates a barrier against water penetration.
- Application: The mixture is applied using a brush or trowel to coat walls, floors, and other surfaces.
- Advantages: It’s easy to apply, cost-effective, and effective for areas with minimal water exposure.
Liquid Membrane Waterproofing:
Liquid membrane waterproofing involves applying a liquid coating that forms a flexible, seamless membrane over the surface. This is ideal for roofs, terraces, and walls that may experience constant exposure to water.
- Application: The liquid membrane is typically applied using a roller, brush, or spray.
- Advantages: It forms a continuous barrier with no seams, making it ideal for complex surfaces and areas with intricate details.
Bituminous Waterproofing:
Bituminous waterproofing is commonly used on foundations, basements, and roofs. It involves applying a bitumen-based coating or membrane that provides an effective seal against water.
- Application: It can be applied as a liquid or in the form of self-adhesive membranes, typically using a torch or heat to bond the material to the surface.
- Advantages: This method is highly durable and resistant to water penetration.
Polyurethane Waterproofing:
Polyurethane waterproofing involves applying a liquid polyurethane membrane that provides an excellent seal against water. It’s commonly used for roof decks, balconies, and terraces.
- Application: The liquid is applied using a roller or spray, and it cures into a durable, seamless membrane.
- Advantages: It is highly flexible and ideal for areas prone to movement, such as expansion joints and cracks.
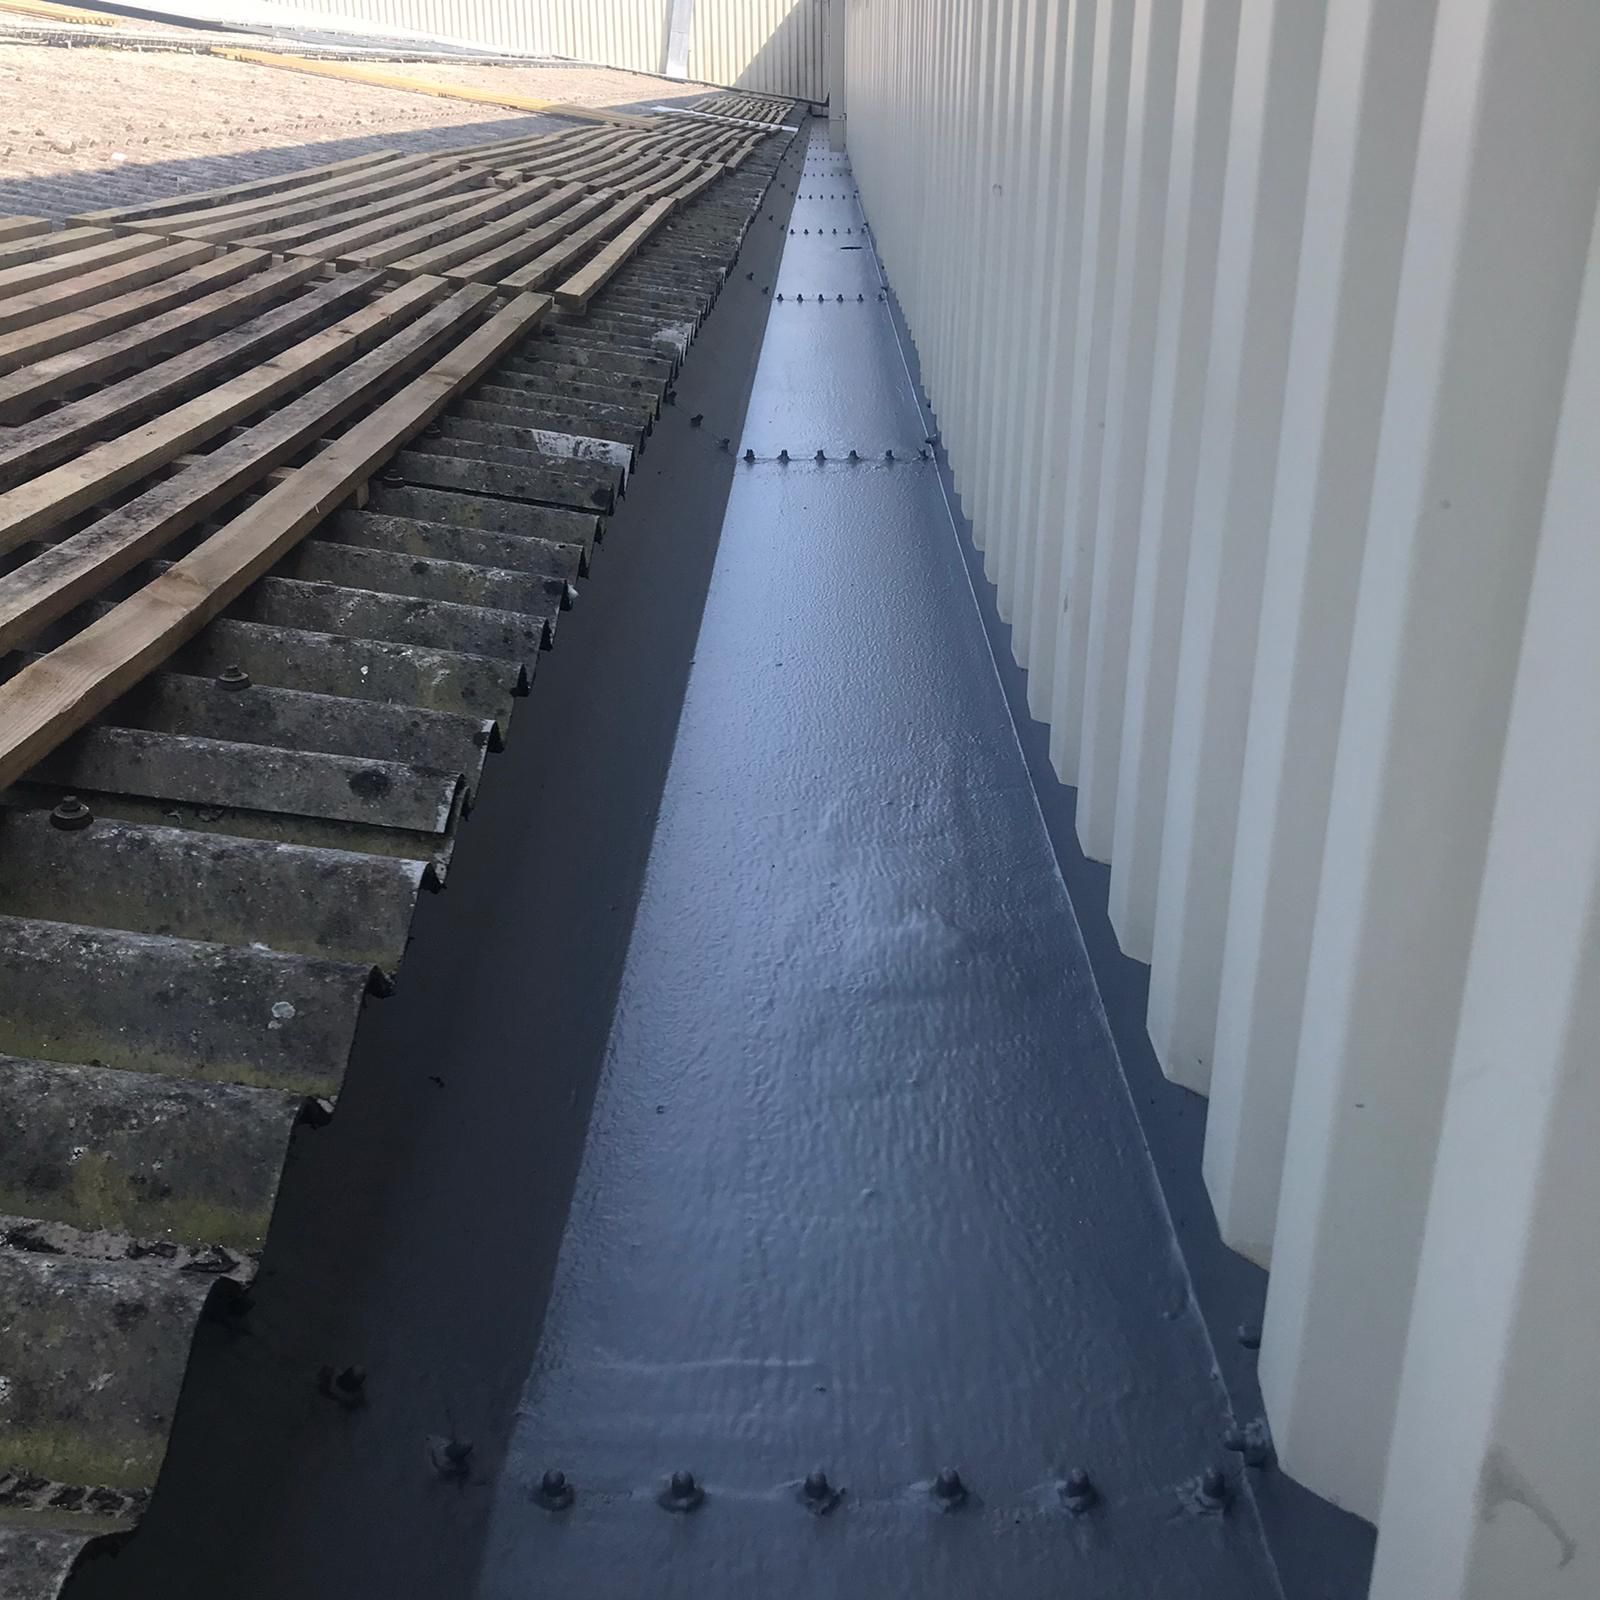
4. Protection Layer or Drainage System Installation
Once the waterproofing membrane is applied, it’s essential to protect it from damage and ensure water flows away from the structure. This step involves:
- Installing a protective layer: For exterior walls or foundations, a protective layer such as a geotextile fabric or protective board is installed over the waterproofing membrane to prevent it from being damaged during backfilling or external exposure.
- Installing a drainage system: A proper drainage system is crucial to ensure water doesn’t accumulate around the waterproofed surface. This may involve adding a French drain or installing weep holes that direct water away from the foundation or walls.
5. Curing and Drying Time
The waterproofing material needs time to cure and dry properly before it can be exposed to water. This process can take anywhere from 24 hours to several days, depending on the type of waterproofing system used and the weather conditions. During this time:
- No water exposure: Avoid any contact with water to ensure the membrane fully bonds and cures.
- Temperature considerations: Extreme heat or cold can affect the curing process, so it’s important to follow the manufacturer’s instructions.
6. Final Inspection and Testing
After the waterproofing has cured, a final inspection is conducted to ensure the work is complete and the area is properly sealed. The contractor will:
- Check for any missed spots or defects in the waterproofing application.
- Test for leaks: This might involve running water around the treated area to ensure that no moisture is seeping through.
- Confirm drainage: Ensure that the drainage system is functioning correctly and directing water away from the property.
7. Maintenance and Monitoring
Waterproofing is not a one-time fix. Regular maintenance is crucial to ensure long-term effectiveness. Over time, the waterproofing system may require touch-ups or repairs due to wear and tear from external factors like temperature changes, UV exposure, or physical damage.
- Regular inspections: Schedule periodic inspections, especially after heavy rains or changes in weather, to check for any potential leaks or damage.
- Keep gutters and drains clear: Ensure that water is properly directed away from your property and that gutters and downspouts are functioning well.
Conclusion
Waterproofing is a vital process that protects your property from water damage, mold growth, and structural deterioration. By following a thorough process—from inspection and surface preparation to applying waterproofing membranes and installing drainage systems—you can ensure your property remains safe and dry. Regular maintenance and prompt repairs will keep your waterproofing system functioning effectively for years to come.